


|
|
|
|
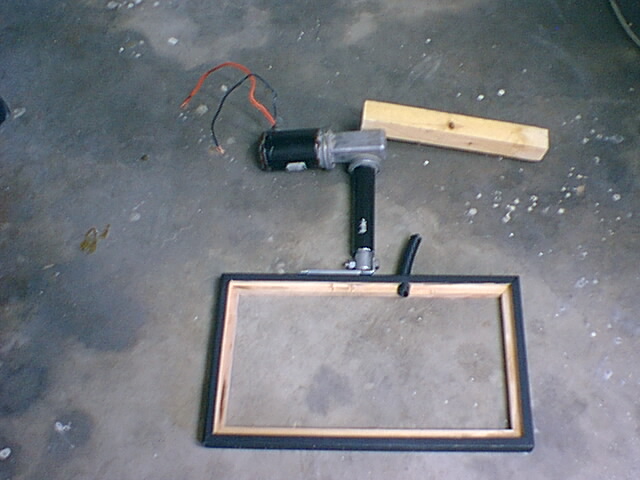
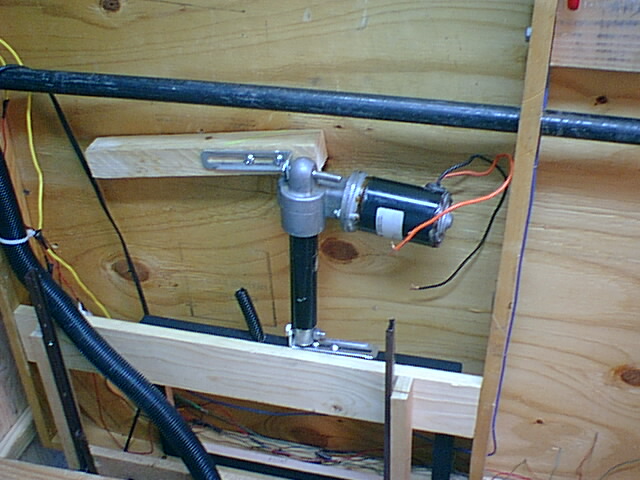
When we first got to town, the layout sat in storage for almost a year. in the ensuing time, it suffered a great deal of damage to the hardshell scenery by the large tunnel from being moved from L.A., and then to our latest place. I built a rolling cart style table for the board to mount to. A length of 3/4" black pipe used in gas plumbing runs through the table and the cart at both ends. 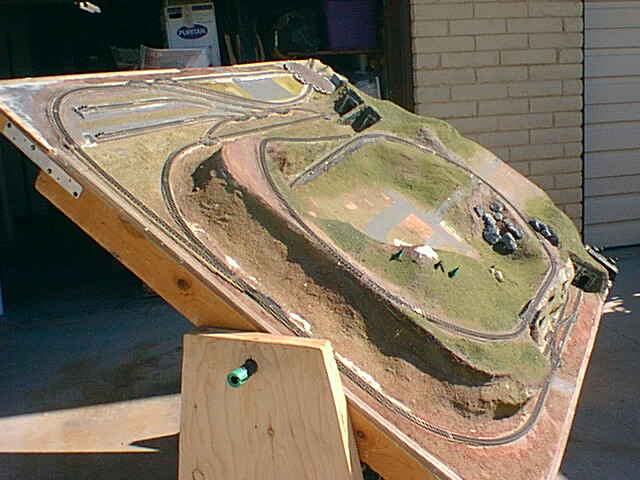 Here's another view of the table from the bottom in the folded position with a view of the actuator that works the table.  The actuator is screwed into the table base and the table itself. It's 12 volt powered and I'll explain how it works further down. Having it go to a vertical position makes for easier wiring and repairs. Here's another view of the actuator before I cleaned up the wiring. 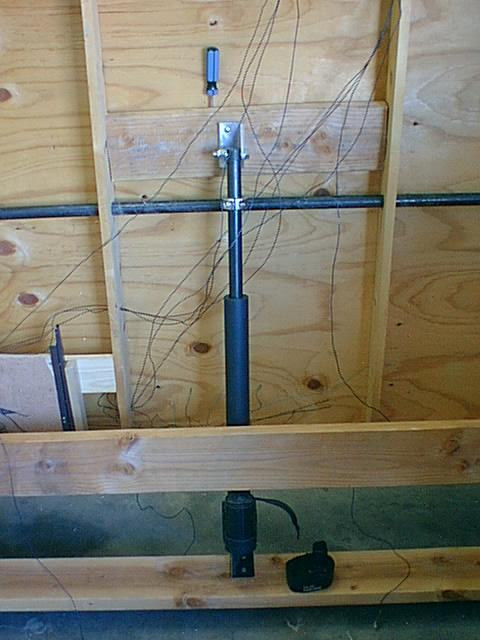
The latest thing happening is that the block control panel has gone high-tech.... it now slides out from the table via a 5 1/2 inch marine actuator. Here are a couple of shots of it going together....first, the original work.... 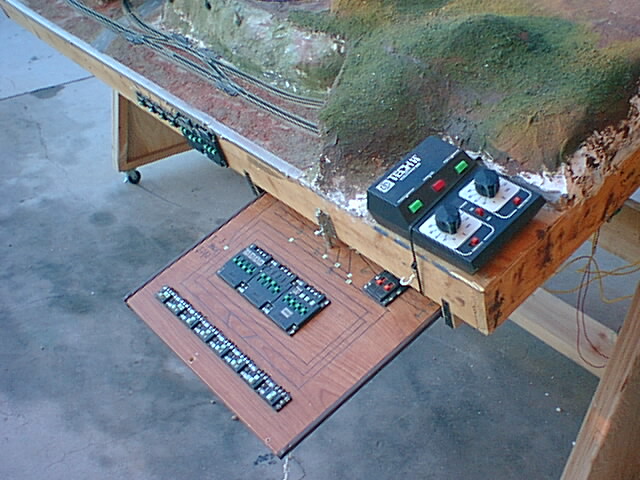 It slid out from underneath the table, and It looked like a mess, so I changed it around a little....
The new panel is ready to go in...I cut a hole above the old slide out drawer and set her in...
And here's the finished product. Note the switch to the right of the drawer
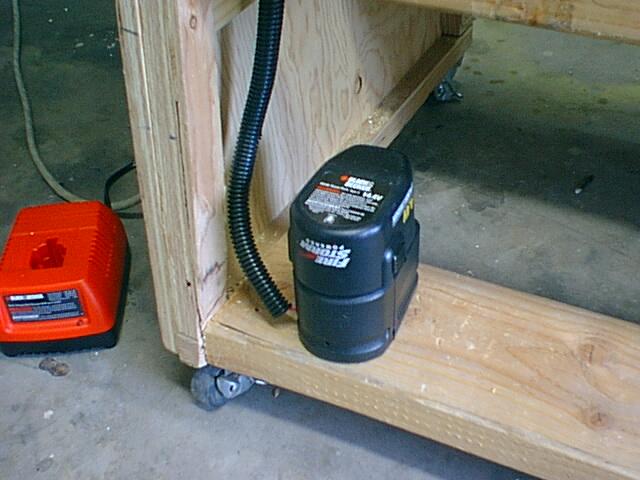
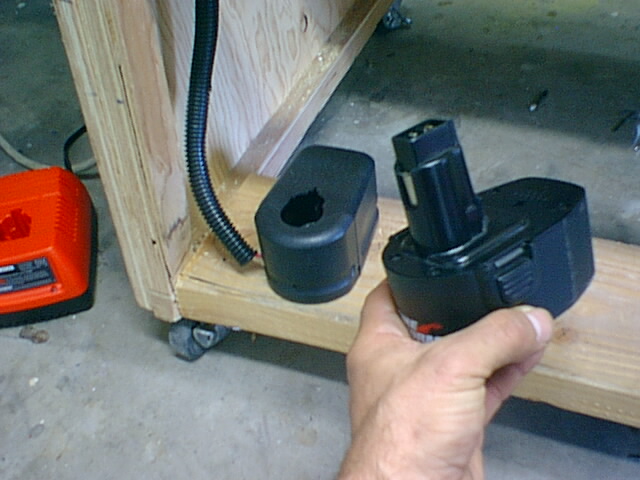
You're probably wondering how I power the actuators...I rotate the batteries from my Black & Decker 14.4V Firestorm drill between the drill, the layout and the charger...
I do have an update on this page and I should have more up soon....In the meantime, I did change out the Firestorm setup for a full time 120 - 12V setup and now the actuator is powered whenever the board is. 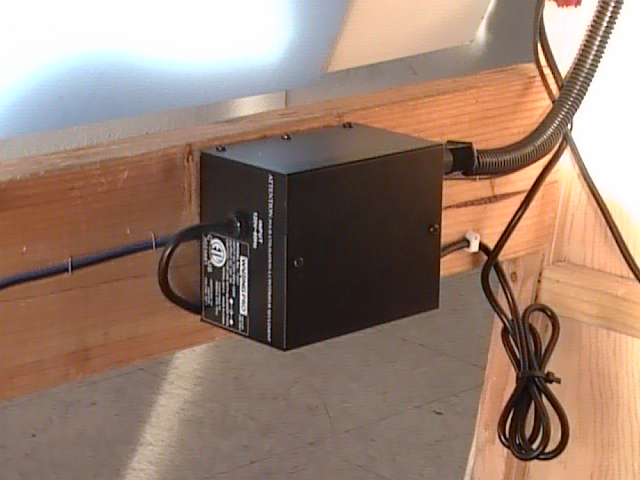
Back to the TOP |